|
 |
|||||||||||||||||||||||||||||||||||||||||||||||||||||||||||||||||||||||||||||||||||||||||||||||||||||||
| 2001 F250 Power Stroke Super Duty 4x4 | ||||||||||||||||||||||||||||||||||||||||||||||||||||||||||||||||||||||||||||||||||||||||||||||||||||||||
 |
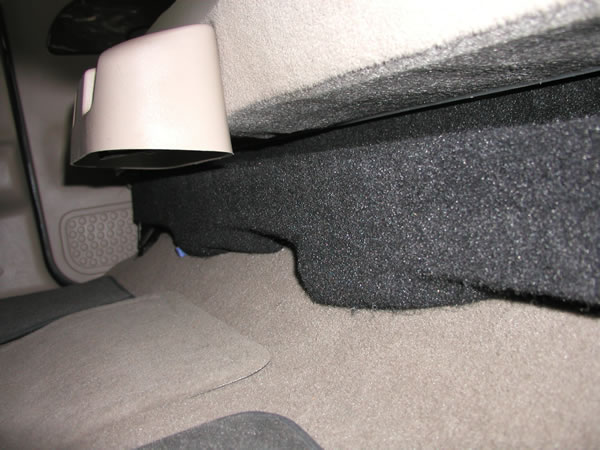
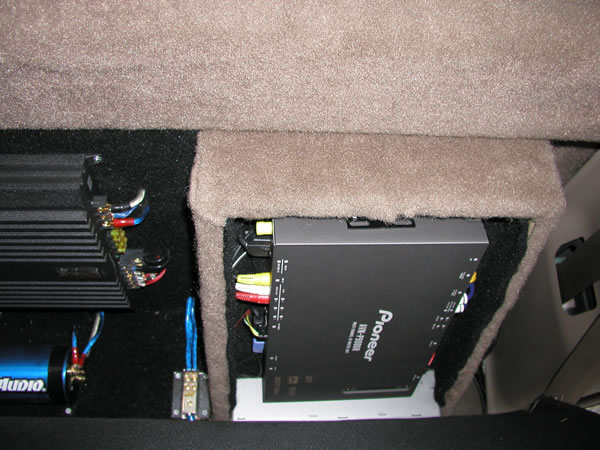
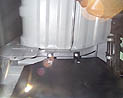
Click on any pic for larger view (Modifications shown from most recent) Subwoofer Relocation and Re-wire Subwoofers are re-located under the rear seat. With this move it allows all the electronics to be moved and flush mounted behind the seat. A very tight fit for all the components.
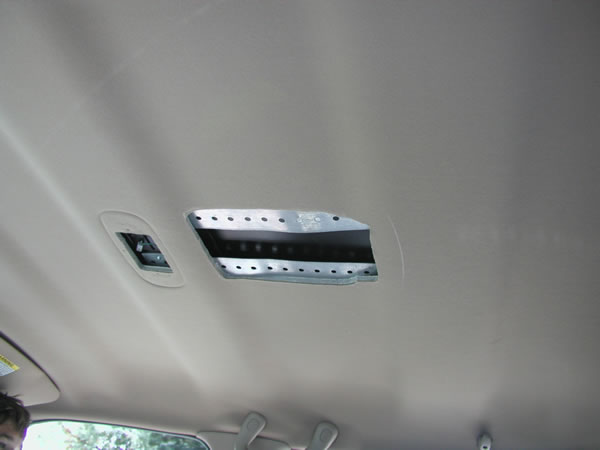
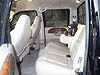
Rear Video and Wireless Headphone Install This is an Audiovox 8" over head video screen installation for rear seat video. People can watch a DVD with the Headphones while others can be listening to music and or using the navigation system. Also, my son can put his music in the DVD player and listed to it one the headphones without disturbing the rest of the passengers.
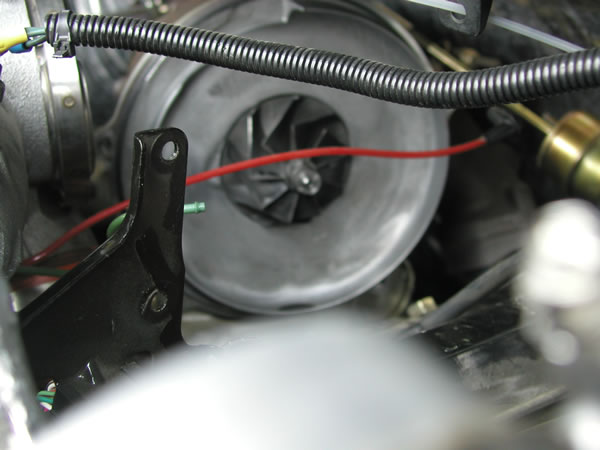
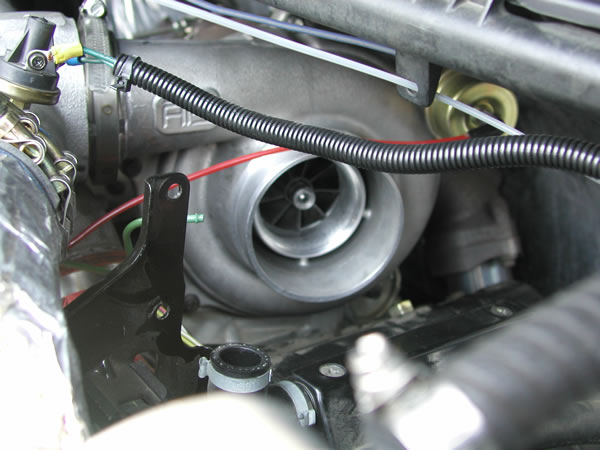
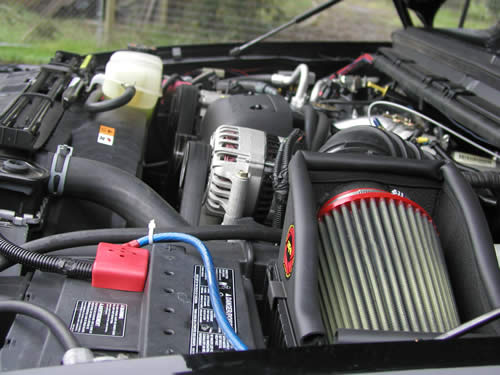
ATS Turbo Compressor Install The ATS compressor housing is designed to eliminate compressor surge. It works very well to do this. However, it does add a fair amount of whistle as a result of the larger intake hose. Personally, I like the new sound. The kit is complete and install only took about 2 hours. Boost pressures did go down after the install, but there is no loss in power since there is a gain in volume. For example, at 60mph previously with 5lbs of boost, now is only 3lbs of boost.
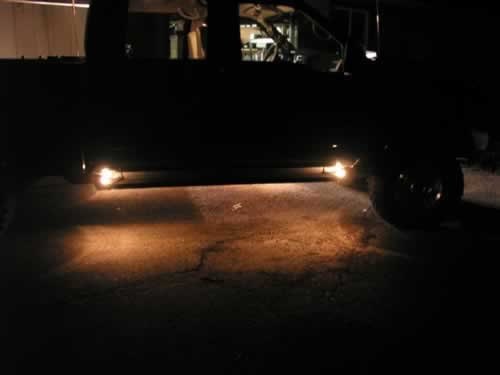
Onki Running Boards The factory running boards are great if you do not mind gray water wings on the side of your truck. The plastic can also be slippery when it is wet or dirty. These running boards solve those problems and add light to both the top and the underside of the truck when you open the doors. All surfaces are made from black rubber formed over extruded aluminum.
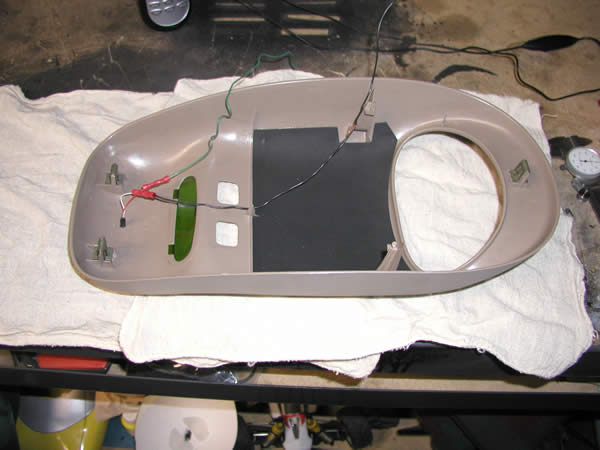
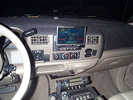
Cup Holder Lights One of my biggest complaints is the fact that I cannot see my cup holders at night. As a result I mounted 2 LED's in the over head console. The first attempt with a small light was not bright enough. In the images below you can see how well the holders are illuminated with the LED's
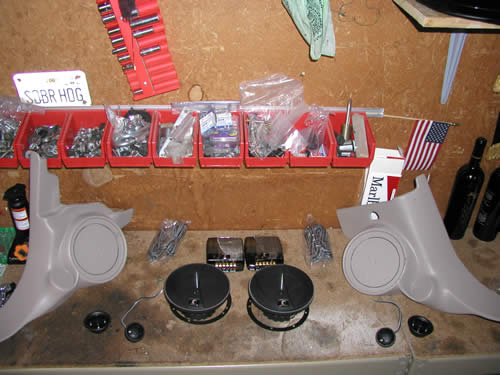
Q-Form and Kicker Speakers The Q-Forms are a great fit and the color matching is impressive. Only some minor trimming was required on the right side. The sound it added to the system is very full and impressive. A lot more sound for the entire cab. The mid range speakers put out an amazing amount of bass in the front and help fill the cab evenly. The only down side is the loss of foot room, but well worth the investment!
Cowel Induction Hood with Ghost Flames Need I say more? Thanks to KC Customs for the great work!
AFE Air Filter setup and BD 3.5" downpipe into 4" exhaust The AFE filter system decreased turbo spooling time a lot. You hear more turbo wine in the cab but only under acceleration, especially on the freeway. The BD exhaust system was very affordable and decreased my EGT's by 200 degrees; while at the same time increasing throttle response. These two units make a great combination for performance!
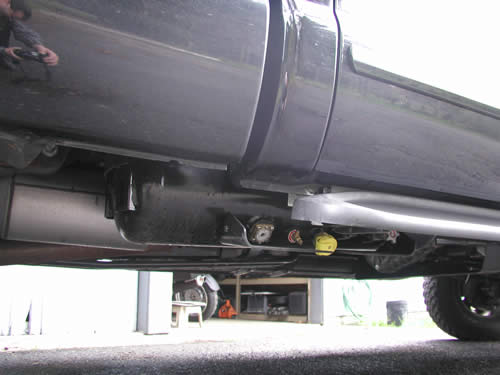
TS Performance Propane Injection System Custom mounted 12 gallon propane tank with liquid feed to manifold. Water lines are plumbed into the system in order to vaporize the liquid prior to injection. Injection amount is metered by vacuum and a pressure switch set for 4lbs of boost. What a kick, it is there when you need it! Increased my fuel mileage in the freeway by 3 to 5mpg.
Custom CB and Booster mount with Center Channel Ranger CB with a Palomar Booster (300w) along with a Rockford 4x6" for the center channel on the surround sound system.
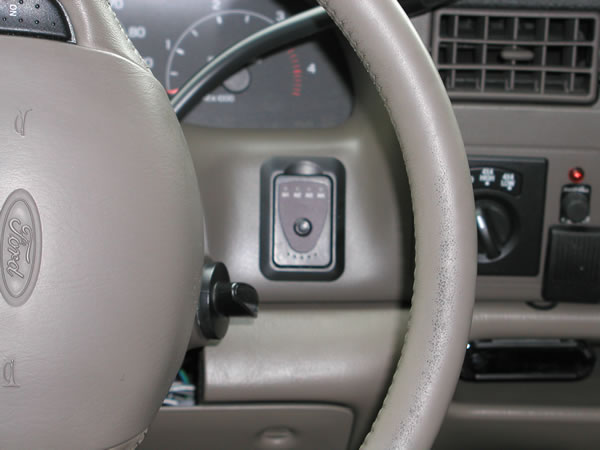
TS Performance 125HP Chip Installation This is the highest performance chip available from TS Performance. It is highly recommended that you run this chip with gauges so to keep an eye on your EGTs. The power increase in amazing. I can can now light up the tires at will from a stop sign. The shifting is firm but not harsh or abusive to the transmission. Power increase is all the way across the RPM scale and makes freeway driving much easier on the pedal. EGTs will climb high if you keep you foot in it to long, but by simply feathering the throttle you can keep the speed and lower the EGTs.
Autometer Gauges and A Pillar These are the Autometer Pro-Comp series gauges. Installed from top down: Transmission Temp, Turbo Boost, EGT.
Smitty Built Outland Grill Guard and Brush Guard Once again Smitty Built has designed a perfectly fitting guard. The installation was simple and included bumper reinforcement brackets to stabilize the assembly. The Hella Ralley 4000s are the "Cornering Beams", and light up a very wide range.
Pioneer Visual Audio System and Navigation This systems includes a 7" Wide-Screen In-Dash Motorized LCD Color Display with Single-CD, Audio/Video Entertainment Master Unit with DVD Control and Dolby Digital/DTS, Surround Sound, 12-Disc IP-Bus Multi-CD Player, voice command Car Navigation Unit. The Amp was moved to the sub box along with a capacitor, power and ground distribution blocks. The factory rear panel has been re-carpeted to match the box.
Custom Sub Box for 10" I made this box in about 5 hours. It has about .5 cubic feet of air space per woofer and is sealed. The idea is the space in the middle will hold my amplifier (when it stops raining so I can move it) along with the power and ground distribution blocks and a capacitor for the amp. Currently everything is under the seat. (See the bottom of this page for the old sub box.) The rear factory panel was removed so I would be able to get as much airspace as possible. I will be re-carpeting it with the same carpet as the box.
New Muffler and K&N Filter Novato Brake and Muffler replaced the stock muffler with a high flow less restrictive model. The stock muffler was only 2.5", this seems to defeat the purpose of having a nice large stainless exhaust that the factory installs with the PSD. After installation the largest increase was off idle performance. It feels as if all turbo lag was removed. The truck does pull harder at freeway speeds, but the largest increase was off idle.
Rancho 4" Suspension Lift using all new springs and RS9000s The Rancho kit was very complete, although it did not mention that is requires the use of the 3.25" factory rear blocks. If you have the 1.25" rear blocks (like I did) you will need to order the taller ones in order to make the truck sit properly. The ride quality is outstanding and the RS9000s are well worth the investment. I am running BFG 35x12.5" on AE 589s. Thank you to Advanced Truck Accessories for the great work!
Retrax Bed cover from Applied Products. This bed cover is truly trick. It is made from one piece of lexan and has no joints to leak. Installation is a snap and takes about 1 hour if you take your time. Fit and alignment are perfect and it roll very easily. The locking setup is genius and a minimum! Everything is flush mounted and the cover has very smooth lines. I would buy it again with no hesitation.
If you would like to see my complete installation pictures you can see them on the RETRAX web site at the following URL: http://www.rolltopcover.com/instal_pics.html On Board
Air Compressor from Sun
Performance Installation
Billet
Front Grill by Stull.
Problem
found: Stereo
Installation
New stock truck
Coming soon:
If you have any comments or questions about what I have done to my truck please feel free to e-mail me: ziyad@showketdesign.com Visit Tuck Links and Resources >>>
|
|||||||||||||||||||||||||||||||||||||||||||||||||||||||||||||||||||||||||||||||||||||||||||||||||||||||
|
Industrial
Design | Model Making | Sketches
| Projects| |
||||||||||||||||||||||||||||||||||||||||||||||||||||||||||||||||||||||||||||||||||||||||||||||||||||||||